


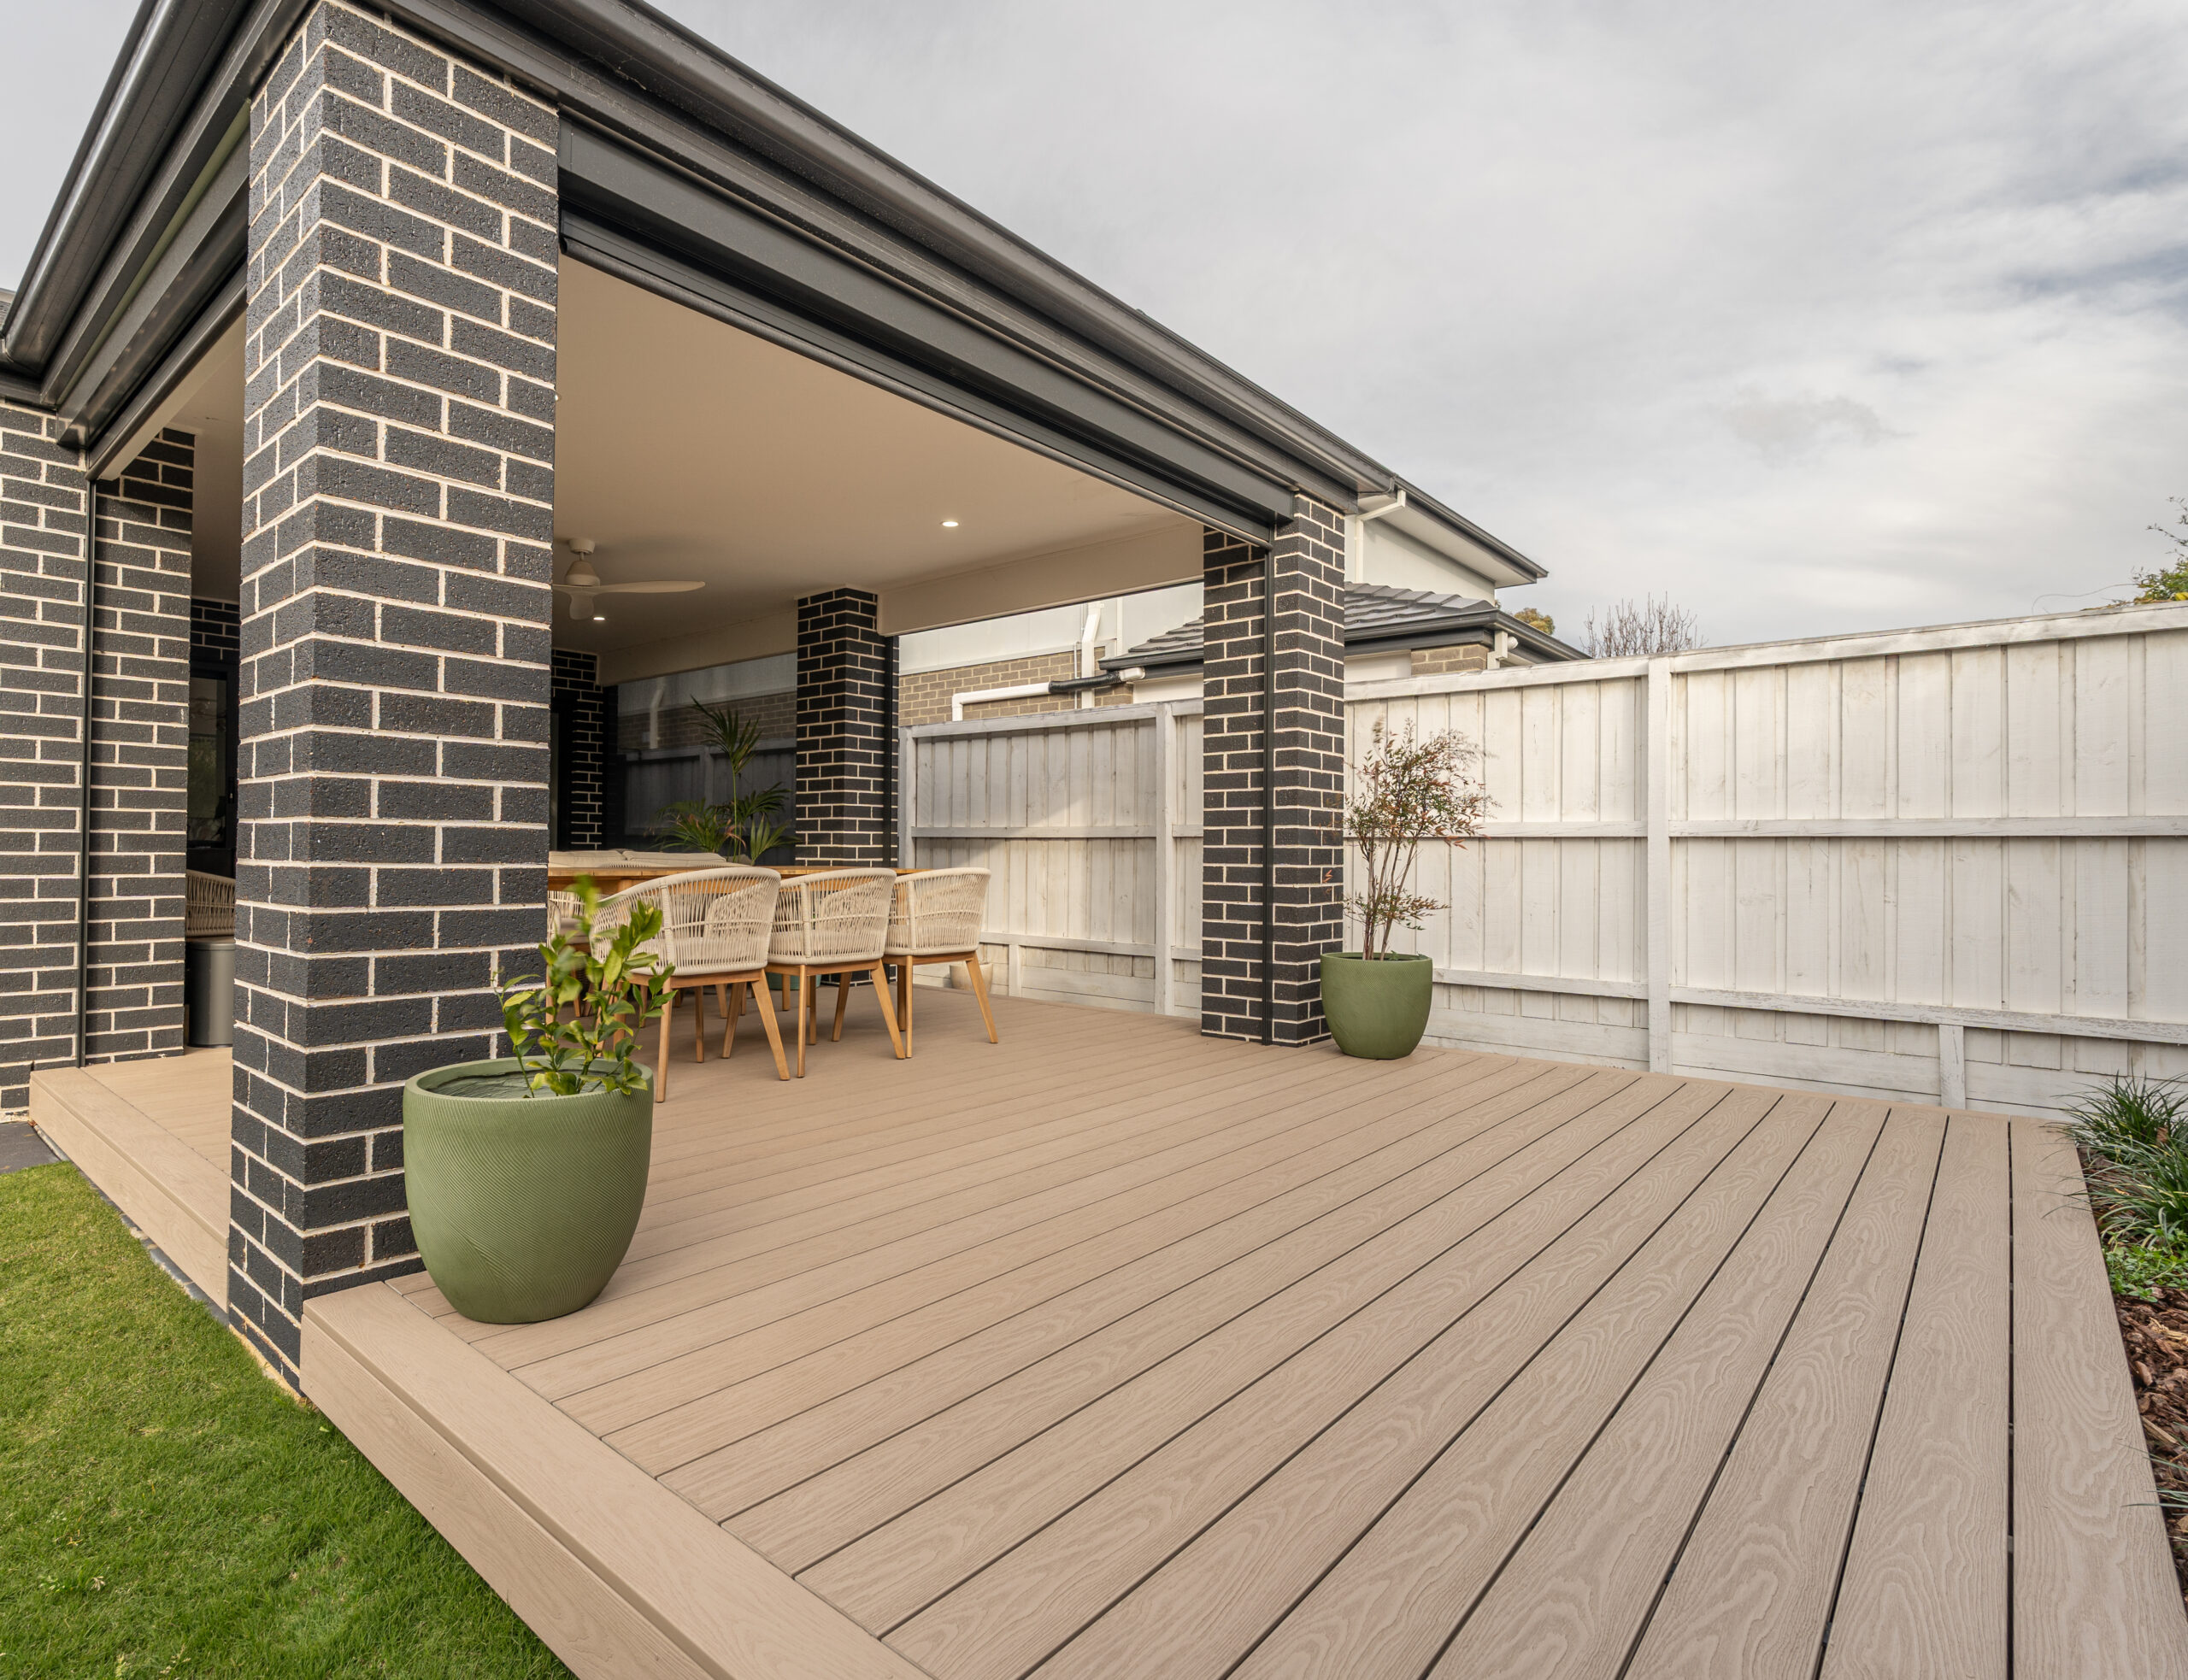
Thinking about transforming your backyard with a new deck? Installing composite decking yourself can be a rewarding project that saves you thousands in labour costs while creating the outdoor space you’ve always wanted. If you’re ready to tackle DIY decking, WoodEvo’s composite boards make the process straightforward, even for first-timers.
At WoodEvo, we provide premium composite decking solutions designed for easy installation and long-lasting performance. This guide walks you through everything you need to know about DIY composite decking installation, from planning to the finishing touches.
Read on to get started with your WoodEvo DIY decking project.
Why Choose WoodEvo for Your DIY Decking Project?
WoodEvo’s HOME and ADVANCED ranges are built specifically for Australian conditions, with materials that won’t warp, splinter, or need constant maintenance like timber does.
The HOME range gives Australian families an affordable, eco-friendly option made from 95% recycled materials, and both ranges are CodeMark certified PVC decking in Australia. The HOME range comes with industry-leading warranties (25-30 years) and are Global GreenTag Certified, meaning they’re safe for your family and the environment.
Planning Your DIY Composite Decking Installation
Proper planning makes all the difference between a deck that lasts decades and one that fits your needs.
Check Council Requirements
In many Australian councils, adding a deck requires a building permit depending on its height above ground and total size. Contact your local council early to understand what approvals you’ll need.
Measure Your Space
Calculate the total square metres you want to cover. WoodEvo’s 138mm wide boards at 5.4m length cover approximately 0.74 square metres per board. Add 5% extra for cuts and wastage.
Use our Deck Calculator to find out how many boards you need: Find out Now
Choose Your Colour
The WoodEvo HOME and ADVANCED range offer a variety of stunning colours to suit any aesthetic. Choose from natural timber tones like Tallowwood, Teak, and Barossa, or opt for contemporary shades like Charcoal, Basalt, and Snow White. Lighter colours like Nordic or Hampton stay cooler underfoot thanks to NatureCool technology, perfect for hot Australian summers.
Essential Tools for DIY Decking
You’ll need these tools for a successful installation:
- Circular saw or drop saw with composite or aluminium cutting blade
- Power drill
- Spirit level and tape measure
- Set square for accurate angles
- Safety gear (goggles, gloves, ear protection, sturdy boots)
Most of these are affordable and useful for future projects, making DIY decking a smart investment beyond just labour savings.
Preparing the Substructure
A solid foundation is necessary for any deck. Your substructure needs to support the composite boards properly.
Joist Spacing
WoodEvo recommends 450mm joist spacing for the HOME range. Use treated pine or aluminium joists rated for outdoor use.
Ground Clearance and Drainage
Make sure you have adequate airflow beneath your deck. Ensure you have at least 100-150mm of clearance between the ground and the bottom of your joists to allow for proper airflow and drainage.
Acclimate Your Boards
Let your WoodEvo boards sit flat at your site for 48 hours before installation. This allows them to adjust to local temperature and humidity.
Step-by-Step Installation Process
Step 1: Start with Starter Clips
Begin at one edge using WoodEvo’s starter clips. These hidden fasteners create a clean, professional look without visible screws.
Step 2: Install Decking Boards
Work across your deck, securing each board with the hidden clip system at every joist intersection. Leave 3-5mm gaps between boards for expansion. In hotter areas, slightly larger gaps accommodate more movement.
Step 3: Trim to Fit
Use your circular saw with a composite or aluminium cutting blade to trim boards to length. WoodEvo boards cut easily with standard tools, though a blade designed for cutting aluminium gives the cleanest results.
Step 4: Secure End Boards
Your final board may need face-fixing. Pre-drill holes 2mm larger than your screw heads to allow for expansion, then secure every 300-450mm.
Step 5: Add Fascia Boards
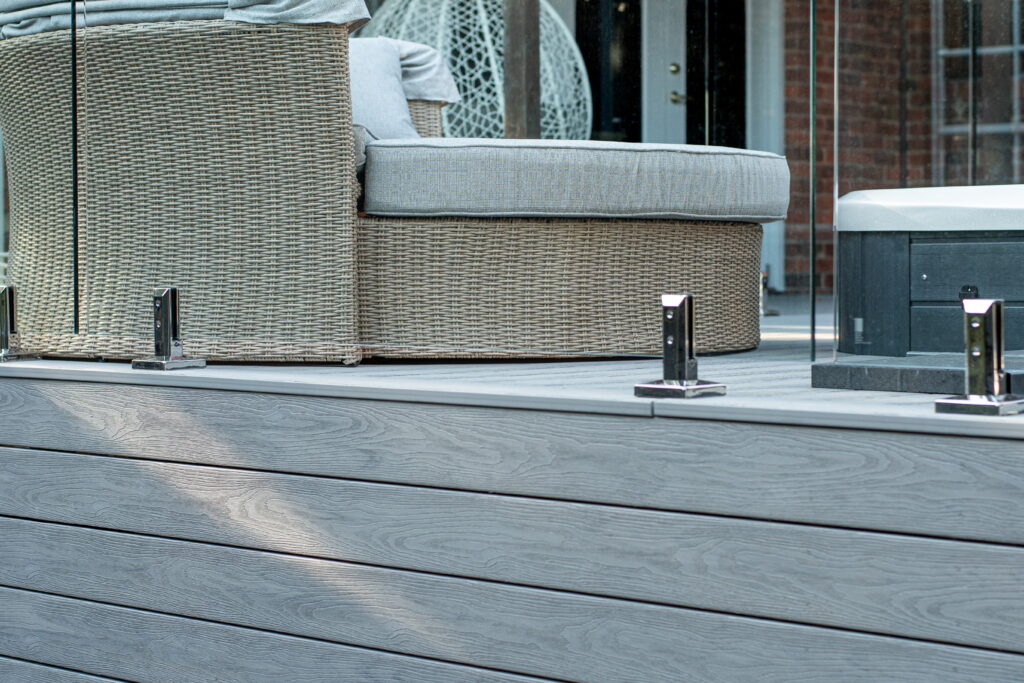
Fascia boards for HOME range or Square Boards for ADVANCED range give your deck a polished finish while hiding the substructure. WoodEvo’s 180mm fascia boards attach to the joists. If your deck is elevated, you can stack multiple fascia boards to cover vertical drops of up to 450mm. Leave 2mm expansion gaps between fascia sections.
Finishing Touches
Walk around your completed deck, checking that all clips and screws are tight. Give everything a thorough hose-down to remove sawdust and debris.
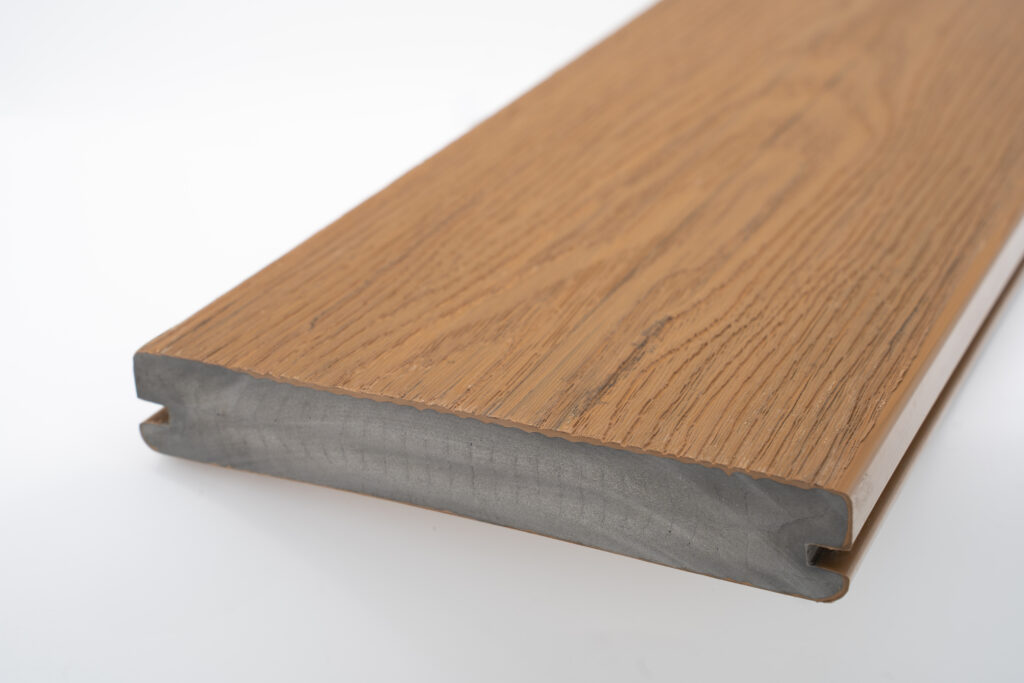
Unlike timber decking, your WoodEvo deck doesn’t need staining, sealing, or painting. The colour runs throughout the board, so scratches are barely noticeable. An occasional wash with soap and water is all the maintenance you’ll ever need.
Common DIY Decking Mistakes to Avoid
- Skipping permits: Always check council requirements first
- Inadequate joist spacing: Follow manufacturer guidelines strictly
- Ignoring expansion gaps: Composite materials expand and contract
- Using wrong fasteners: Only use WoodEvo’s recommended fixing systems
Is DIY Composite Decking Installation Right for You?
DIY decking means massive labour savings and the satisfaction of creating something yourself. That said, complex designs, multi-level decks, or projects with stairs and railings might be better suited to professional help.
For straightforward, ground-level decks under 1 metre high, most handy homeowners can get excellent results following this guide.
Ready to Start Your WoodEvo Deck?
WoodEvo makes DIY composite decking installation accessible for Australian families. With the right planning, tools, and materials, you can create a beautiful, long-lasting outdoor space that adds value to your home.
Order your free WoodEvo samples today to see and feel the quality difference. With 15 decking colours available and everything you need for installation included, you’re just one weekend away from the deck of your dreams.
Contact WoodEvo on 1300 966 338 or visit woodevo.com.au to get started on your DIY decking project today.
FAQs
Can I install WoodEvo decking myself?
Yes, WoodEvo composite decking is designed for easy DIY installation with user-friendly boards and fixing systems, making it suitable for homeowners with basic tools and skills.
What tools do I need for DIY composite decking installation?
Common tools include a measuring tape, drill, saw, level, spacers, and safety gear. Having the right tools helps ensure a smooth and accurate installation process.
How long does it take to install a DIY deck?
Installation time depends on the deck size and your experience level, but most DIY decking projects can typically be completed within a weekend to a few days.